Photo Shotlist - User Guide
How to Create and Modify Lighting Diagrams
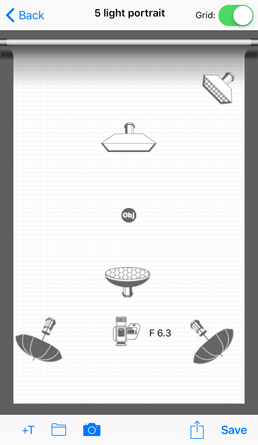
SELECT an existing preset diagram or create your own by clicking the + button. If you are creating a new diagram, type in a title for it and click SAVE. The new diagram is now saved and will appear at the bottom of your diagram list.


CLICK the icon at the bottom of the screen to ADD text, an icon (LIGHTING, SUBJECTS, CAMERAS) or to attach a reference image.

SELECT from a choice of Lighting, Subjects or Cameras. Where applicable SCROLL to see all the icons. Once the new icon has been selected it will appear on the lighting diagram.


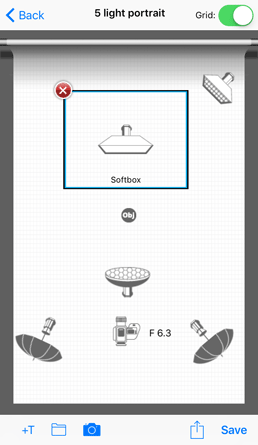
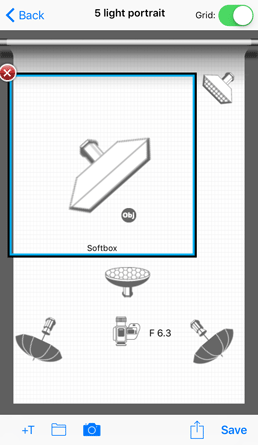
CLICK an icon to SELECT it. A box will appear around the icon. Press and hold the box with one finger to move it anywhere on the screen. If you want to remove an icon, you can DELETE it by clicking the red ✖ button. To ROTATE an icon, first SELECT it with one finger, then use TWO fingers to ROTATE it to any angle or to RESIZE the icon. When it is positioned where you want it on the grid, click outside the box to DESELECT.
You can turn off the alignment grid using the slider switch at the top right of the screen. SAVE the preset by clicking the disc icon at the bottom of the screen.

